
Hello Fernli Designs fans! Kim here today to share with you my next dt project for Fernli Designs. This time I have created a fun and whimsical Fairy book, featuring the gorgeous Fairy door you can find in the Fernli Store.

I started off with the large scallop plaque and used that as my base for the book. I cut chipboard out to the same shape as the plaque and punched a hole in the corner with my crop-a-dile tool to put a ring through the book to hold all the pages.

I used the Alpha Letters to spell out "fairy" and gave them a simple coat of white paint and taupe paint to make them look worn and shabby.

I started off with a coat of gesso on the fairy door, then using sprays in brown tones, I sprayed all over the door to let it soak into the wood. When that was dry, I got out some distress crayons and rubbed them all over highlighting some areas and making them darker to give the illusion of shadow.

I kept layering on the sprays and crayons, adding a bit of water to make the crayons run and rub them into the wood.

I gave the same treatment to the window frame and door latches and knob, but also added a bit of platinum embossing powder as well for extra dimension. Lastly, I added some rhinestone chain around the moon shape of the door for some sparkle, and some lace to the window to make it look like curtains.

I also painted the Celtic Flower up to add to the cover of the book using the same paints and colour tones that I used on the letters and door.
Page 1

I printed off the images I got from a free site and started to work on my pages. I did cover the pages first with some Kaisercraft paper in some neutral tones so it didn't overpower the laces and wood items. I layered on lots of lovely laces from my stash and then I topped it off with some of the Music notes from Fernli.

Page 2

This page has a shy little fairy, she is surrounded by vintage trims and a doily from my stash. I used a flourish, which I painted white and also one of the engraved padlocks which I tied down with some lace and eyelash trim.

Page 3
For this page I laid some laces in a vertical pattern and then used one of the gorgeous Nouveau Frames from Fernli to surround my next fairy picture. I also added a Prima resin clock and some wooden Fernli Clock hands as well.


Page 4
I decided to make this page into a pocket page. I used some trim I cut off of a doily and then layered on some more trims to give it stability. I used the Fernli string swirl flourish and tied some fibers to the front of it to finish off the pocket. For the top of the page I layered on some more laces, and vintage doily and a heart resin frame from Prima.


I created some tags for the pocket page, and gave them a shabby paint job in chalk white paint and layered on some of my lace scraps to the top of the tags. They sit nicely inside the pocket on this page.


Page 5
For this page I picked up on the tones in the fairy image and used some peach, copper and brown tones in the laces.

I used some rust coloured ink from Simon Says Stamps for the first layer on the Nouveau 1 frame, then used several colours of embossing powder on top to really give it a worn and tattered look.

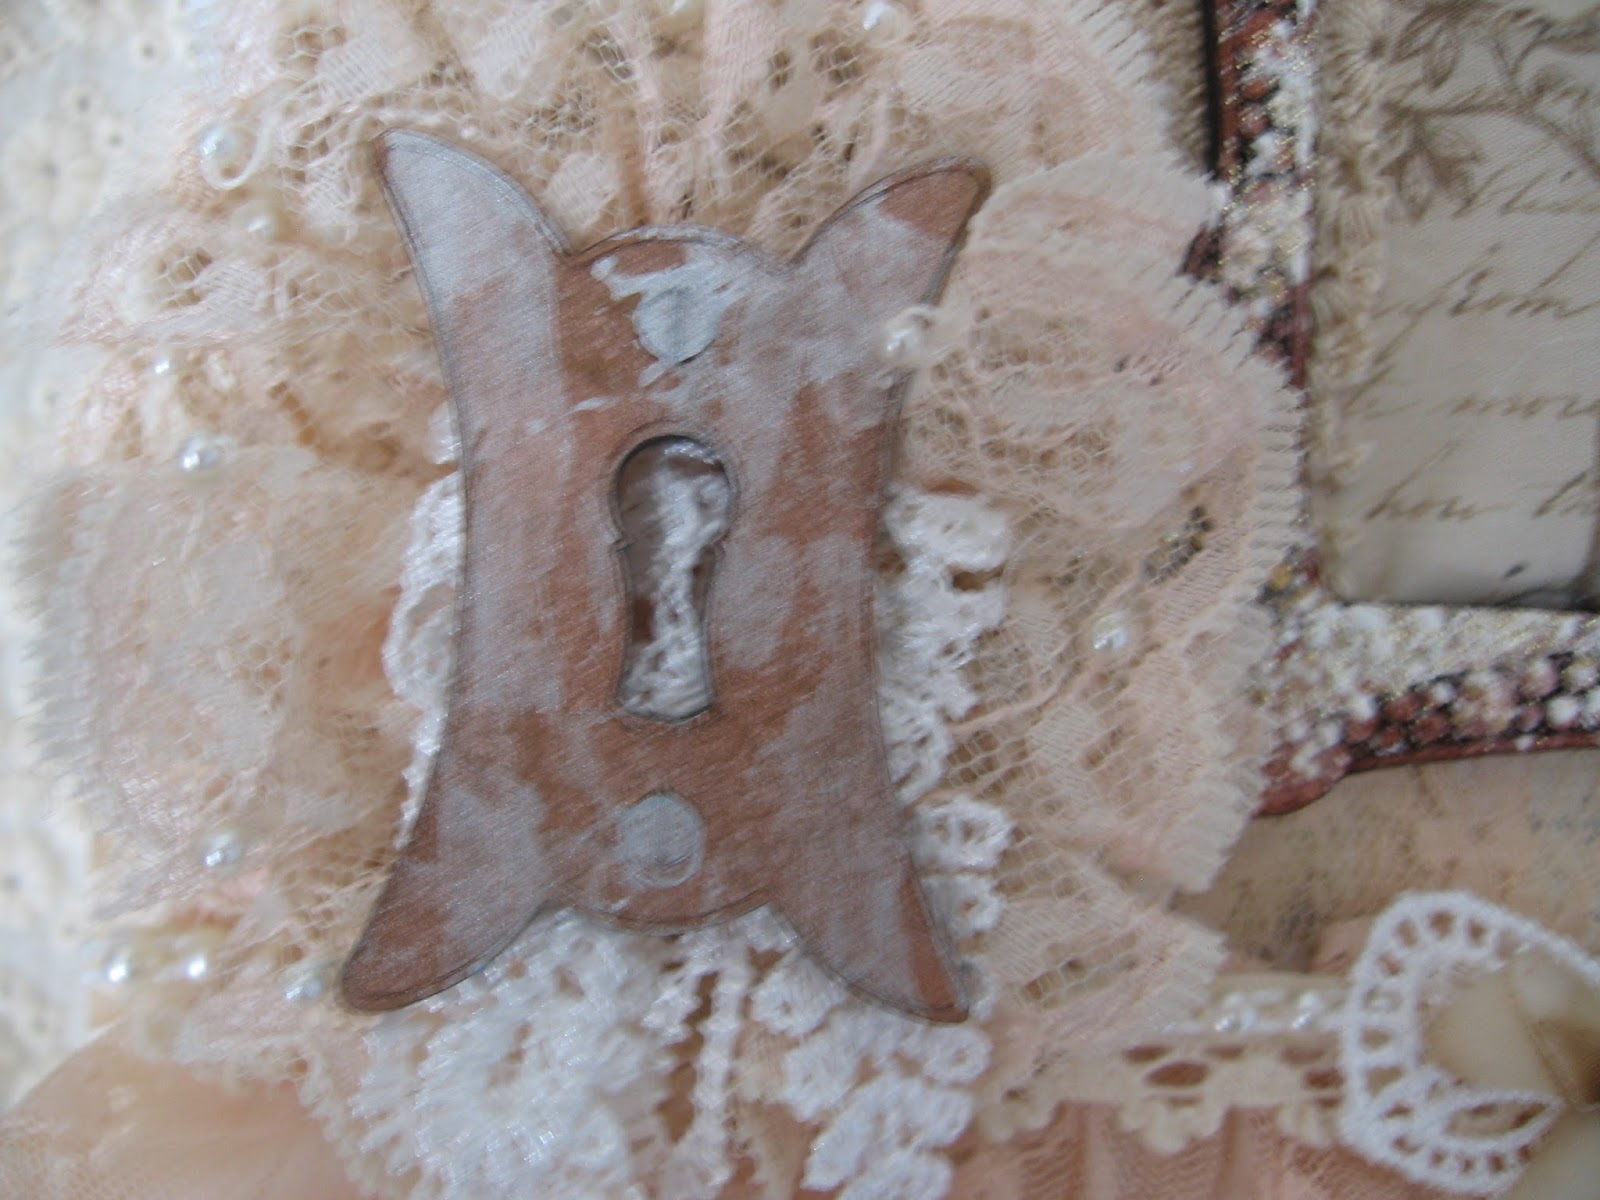
I gave the key plate the same ink colour then rubbed some white paint on top of it. I backed it with some laces and a doily.
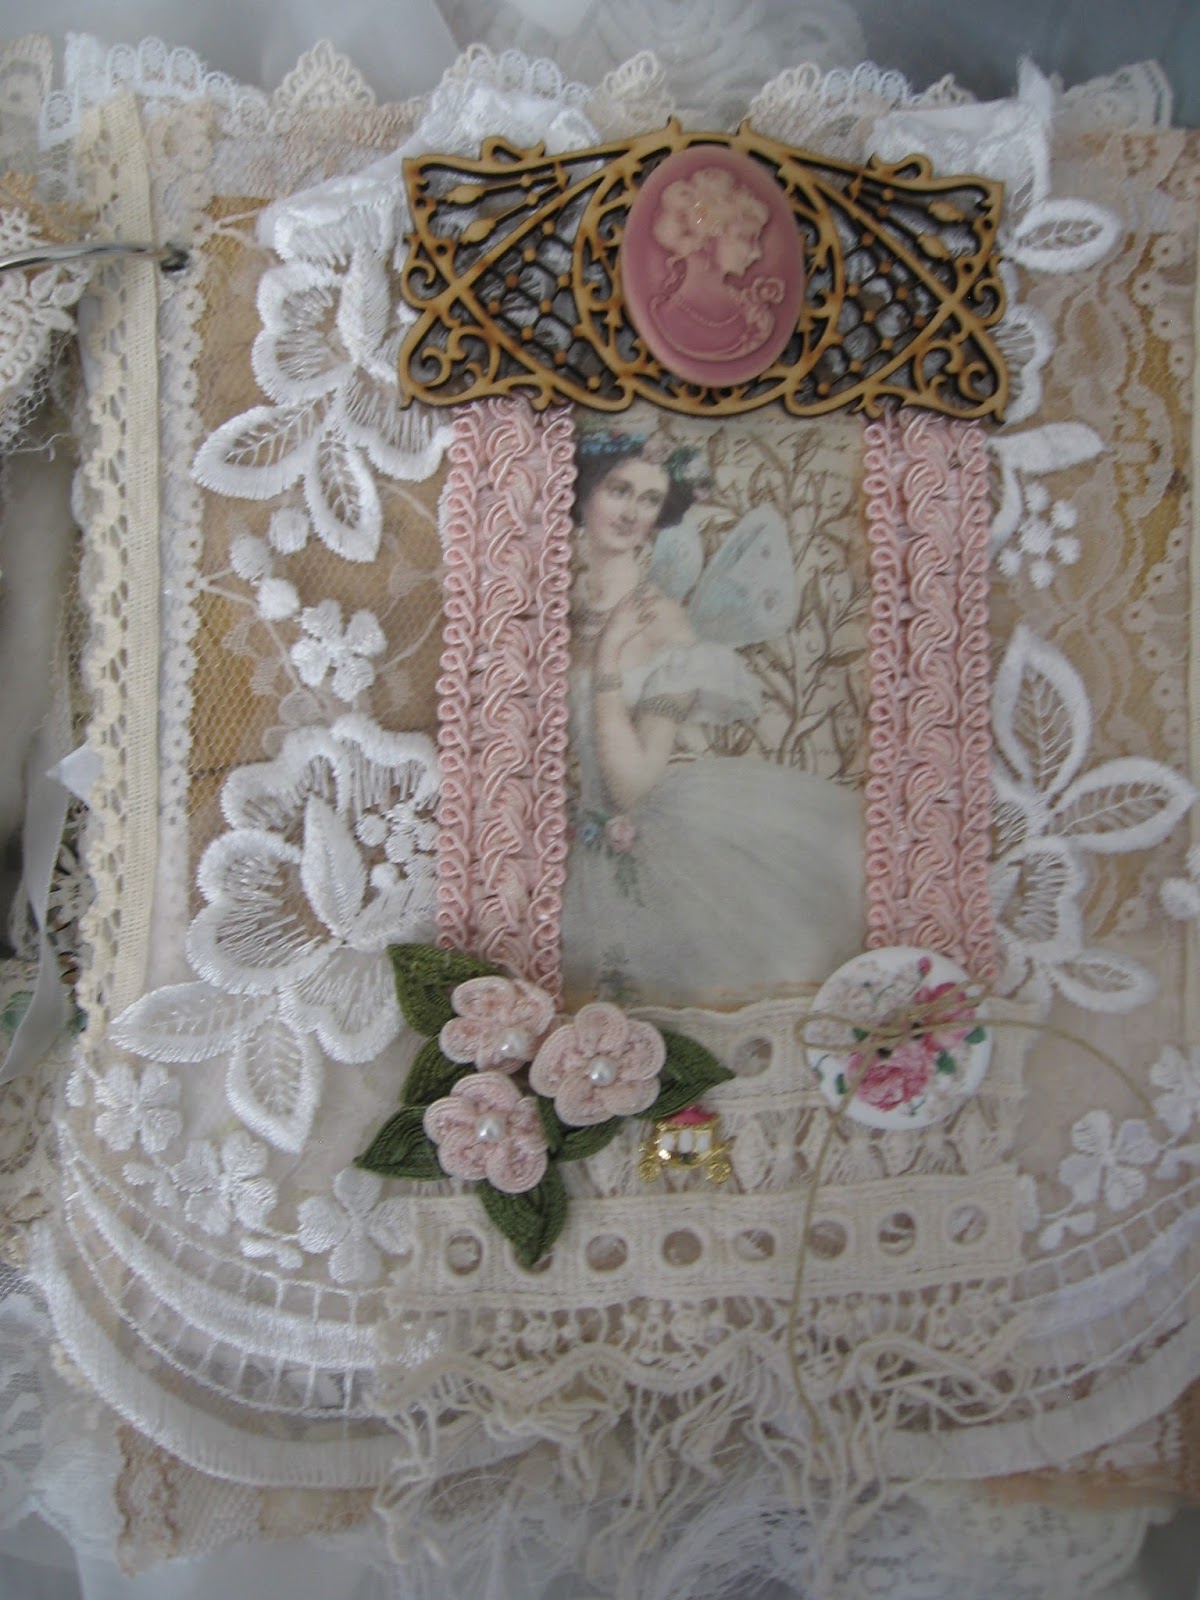
Page 6
This page was fairly simple. I laid down some bridal trim from a dress that I cut up and then added my image and topped it off with the Celtic Knot style Decorative Panel, adding a pink cameo, flowers and button from my stash.

Page 7
For this page, I framed the fairy with vintage lace and used the Hazel's Flourish at the base of the image and a heart flower scroll and a flourish from the flourish 2 set, to the top right of the page.


Page 8
For the last page I used my favorite fairy image. I layered on lots of laces and trims to frame around the image. The Flourish from the Flourish 3 Set and Daisy Heart added some dimension to each of the corners and I also added a heart beside the image and topped it off with some pearl bling.


Back Page
For the back of the book I kept it simple, and trimmed around the outside edge with some gimp trim. I added a vintage doily and lace down the side as well, and finally topped the doily off with another of the 1 inch wooden hearts and pearl bling.


I dangled some of the Hearts on the side of the book. I added lots of fun fibers and seam binding to the ring and attached the wooden hearts this way.

You can see the book turned out to be quite full! Here is a side view!

And once again here is the finished book. I love how it came out, it really has a magical feel to it.
I am sending this to a friend of mine who loves fairy magic!

Please stop by the Fernli Designs Store to get your own goodies to make a fairy book for yourself!
Thanks for stopping by!
No comments:
Post a Comment